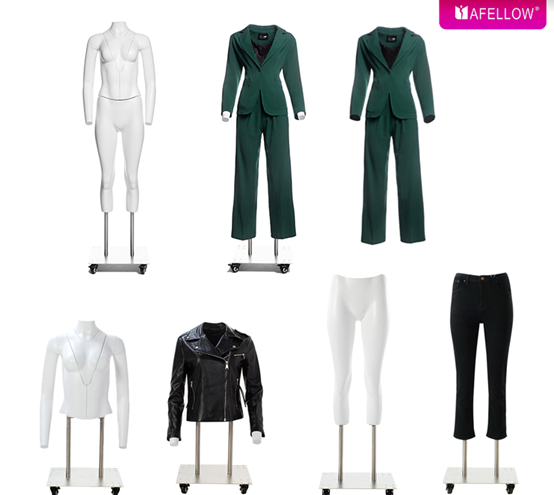
The ‘ghost mannequin effect’ is a popular editing technique used to create a floating mannequin effect in product photography. It’s a great way to make your product photos more eye-catching and professional. Here’s a step-by-step guide on how to create a ‘ghost mannequin effect’:
Start by shooting your product on a white background. This will make it easier to edit later on.
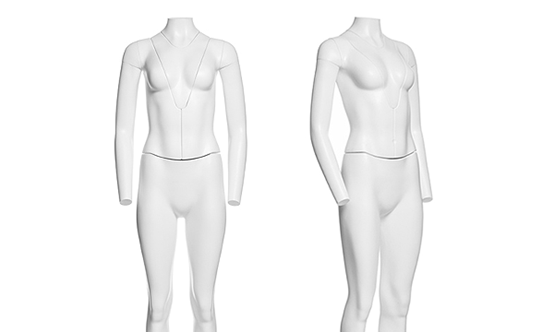
Next, take a photo of the front and back of the product. Make sure the product is centred in the frame and there is some space around it.
Now it’s time to edit! In Photoshop, open up the two images you took in Step 1 and
Select the front image and use the Clone Stamp tool to clone over the neck area. Be sure to match the texture and lighting as best as you can.
Once you’re happy with the result, do the same for the back image. Again, be sure to match the texture and lighting as best as you can.
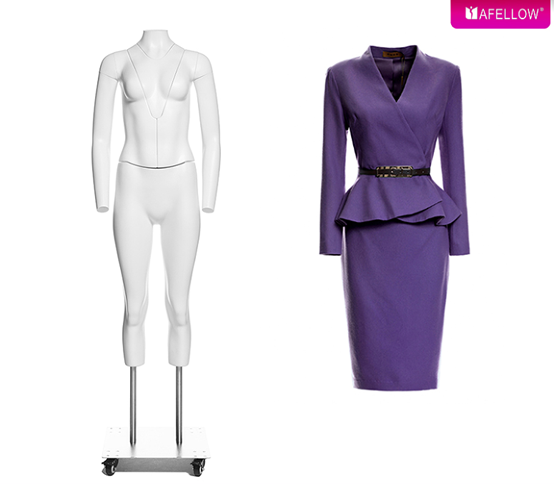
Now you should have two images that look like floating mannequins! To bring them together, select both images and go to Edit > Auto-Align Layers. This will ensure that both images are perfectly aligned.
Finally, go to Edit > Auto-Blend Layers and select ‘Stack Images’. This will blend both images together and create a realistic ghost mannequin effect!
 +8618039231875
 Get a quote
 Mobile Website